Process acrylic glass yourself
Monday, November 1, 2021
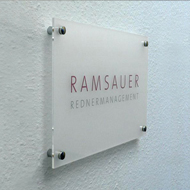
 Acrylic glass or synthetic glass is used in a variety of industries - whether in sign production, window construction or automotive technology.
But acrylic glass cuts are also very popular in the living area thanks to properties such as light transmission, impact resistance and breakage resistance. Whether for partition walls, wind protection for the garden or small components in hobby and model making - acrylic glass is a good choice for many uses.
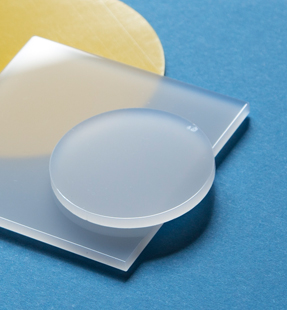
Art glass can be processed in various ways with the right tools – cutting, drilling, bending, etc
Cut acrylic glass yourself
In order to cut the acrylic glass sheet yourself , you have to note that the edges are then unprocessed and exact cuts as with laser cutting are not to be expected (however, it is possible to polish the acrylic glass edges after cutting). The choice of tools mainly depends on the thickness of the acrylic glass.If the board is up to 3 mm thick, you will need a ruler with a steel edge, two clamps, a wooden strip and a cutter; if the board is thicker than 3 mm – a jigsaw, a saw blade with straight teeth and a tooth spacing of 2.5 mm as well a strip of wood. It is also possible to cut to length using a circular saw. For this you need a circular saw, a hard metal saw blade with a trapezoidal flat tooth or alternating tooth chamfer with a tooth pitch of about 13 mm.
Drill acrylic glass yourself
The next action that you can do independently with acrylic glass is drilling . However, there is a risk that the acrylic glass may tear or discolour at the drilling point. For this reason, one must carefully select a drill. It should lift small chips and not crumble the material. The special drill bit for acrylic glass or wood drill bits are ideal for this. Please note that steel, masonry and concrete drills are not suitable for drilling acrylic glass.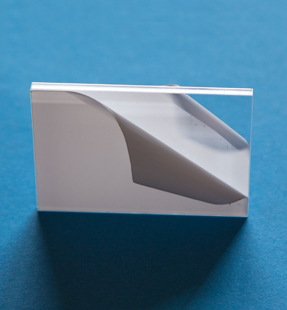
Glue acrylic glass
Before you glue acrylic glass, you have to prepare it . Adhesive surfaces should be cleaned with isopropyl alcohol, edges should be sanded flat if possible. Adhesive should be applied according to the manufacturer's instructions. A device that fixes the acrylic glass plate after gluing and prevents it from slipping would be very helpful. The temperature of around 70° Celsius contributes to the best events, when acrylic glass parts are heated to it during the whole process.Various adhesives are suitable for gluing. Choose a suitable adhesive depending on the type of acrylic glass and its use : whether acrylic is transparent or colored, large or small, for indoor or outdoor use. Acrylic glass can be glued with the following adhesives: with one-component solvent-based adhesive for acrylic glass, with light-curing one-component polymerisation adhesive, with superglue or acrylic glass silicone.
Bend and shape acrylic glass
In many areas of application, objects made of acrylic glass are required in a non-rectangular, flat shape. In addition to cutting and gluing, you can get the acrylic glass cut in the desired shape by deforming it . For this purpose, the art glass must first be made pliable.Acrylic glass becomes flexible from 150° Celsius , which is why the deformation is caused by the heat supply. In doing so, comply with the following safety regulations:
✔
carry out heating only in well-ventilated rooms ;✔
be sure to wear gloves ;✔
Cut acrylic glass from both sides and heat carefully (if the heat is too high, the material will bubble ).If acrylic glass can be bent without effort, it is malleable. Please note, however, that overheating can quickly occur.
Infrared radiators, hot air blowers or convection ovens can be used to supply heat.
Infrared heater is suitable for bending exact edges. Here, acrylic glass that is thicker than 4 mm must be turned every 2 minutes and there must be a distance of around 1 cm between the artificial glass and the radiator.
A hot air gun with a slotted nozzle is also suitable for bending edges; acrylic glass should not be thicker than 5 mm.
In the convection oven, the entire plate can be heated evenly and shaped into containers or half cylinders.
Gloves, cotton fabrics, glass fiber fleece, metal plates can be very helpful during the shaping process.