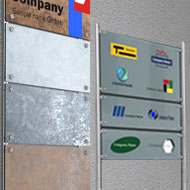
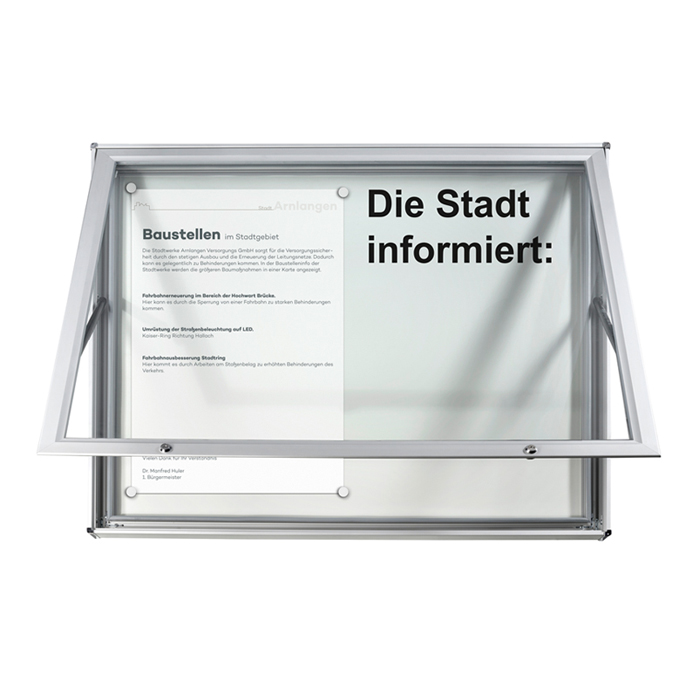
Installation instructions for company signs
Saturday, July 1, 2023
 A new company sign has been ordered and delivered, the next step after unpacking is assembly. There are a few points to consider.
Consider the type of fastening when ordering the sign
When ordering the sign, it is important to think about how the sign will be installed later: whether with Clamps, Wall spacers or with adhesive material, because sign production already depends on this .Each mounting type has its nuances, e.g. the sign does not have to be transparent for adhesive mounting because the adhesive will be visible. Or if the sign is fixed with the clamps, it should be made without holes. Conversely, holes are required in the shield for the spacers.
When selecting spacers many factors must be taken into account: whether the sign consists of one or two panels, what size it is, whether it will be used indoors or outdoors. The sign manufacturer can recommend the right solution. And how to use the spacers correctly is explained in the corresponding assembly instructions.
Mark and drill holes in the wall optimally
The first step is to mark where to drill the holes for mounting in the wall. A mounting template can be used for this purpose, which is ordered together with the sign. If you have not ordered a template, you can place the sign face down on the wall and mark the drill holes on the wall. The holes are then drilled into the wall at these points.Attach acrylic glass sign with spacers
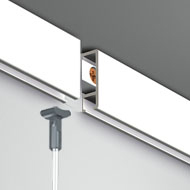
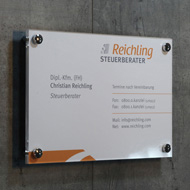
 An acrylic glass sign, which consists of a pane, has a protective film on the front that must be removed before installation. The printed back has no protective film and is very sensitive to mechanical stress. So please be very careful.
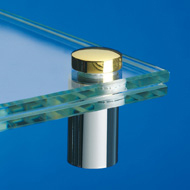
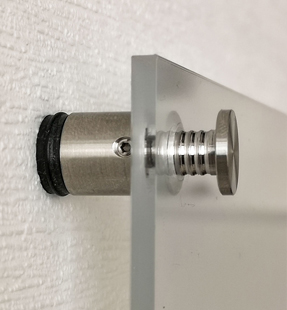
 Insert dowels into the previously drilled holes and attach the stainless steel spacers to the wall with screws. Then place the sign on top and screw the holder heads through the holes in the sign into the spacers. Lateral threaded pins in the spacers secure them against manipulation and automatic loosening. The stainless steel spacers are suitable for signs up to size 40 x 30 cm.
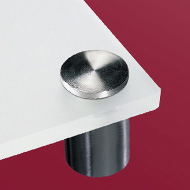
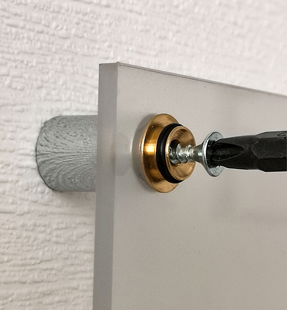
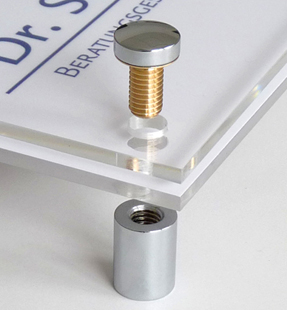
The brass spacers are suitable for signs up to a size of 90 x 60 cm. They are provided with decorative caps that must be removed (not unscrewed!) before assembly. Then the middle parts of the brass spacers are inserted into the shield holes and the shield between them and spacer sleeves screwed. Now screws are inserted into the spacer sleeves and the sign is screwed onto the wall. Now you can put the decorative caps back on.
Attach double glass sign on the inside
 Assembling the sign, which consists of two discs, is similar to assembling the sign with one disc, there are just a few points that need to be taken into account.
If it is a double glass sign with print, the protective film must be removed from the front side of the printed panel and from both sides of the second panel (three films in total). In the version without printing ("Blank"), both panels are covered with protective film on both sides (peel off four foils here).
Another word about the “Blank” sign. Since there is no direct printing here, an insert must be placed between the panes before installation and only then attached to the wall.
Assembly of the double glass sign outdoors
The assembly of double glass signs in outdoor areas must be considered separately. This sign design is only available with direct printing and with brass spacers.In addition, the two panes of such a shield are joined flush and sealed at the factory using fasteners. This preparation protects the sign from rainwater or similar penetrating between the panes. The spacer sleeves must not be unscrewed! Otherwise the sign will lose its tightness, even if the sleeves are screwed on again later.